
Materials:
- 2 wooden pallets
- jigsaw
- miter saw (optional)
- hammer
- nails (1-2 inch)
- crobar/prybar (optional)
- grade 100 sandpaper and powersander (optional)
- mineral oil
- tape measure
Disclaimer:
I am by no means a woodworking expert. I wanted to see what I could create with some pallets I had laying around in the yard, so this is what I came up with.
This post is light on details because 1: my memory is also light on details, 2: there are lots of smart(er) ways to do this project and 3: be creative!
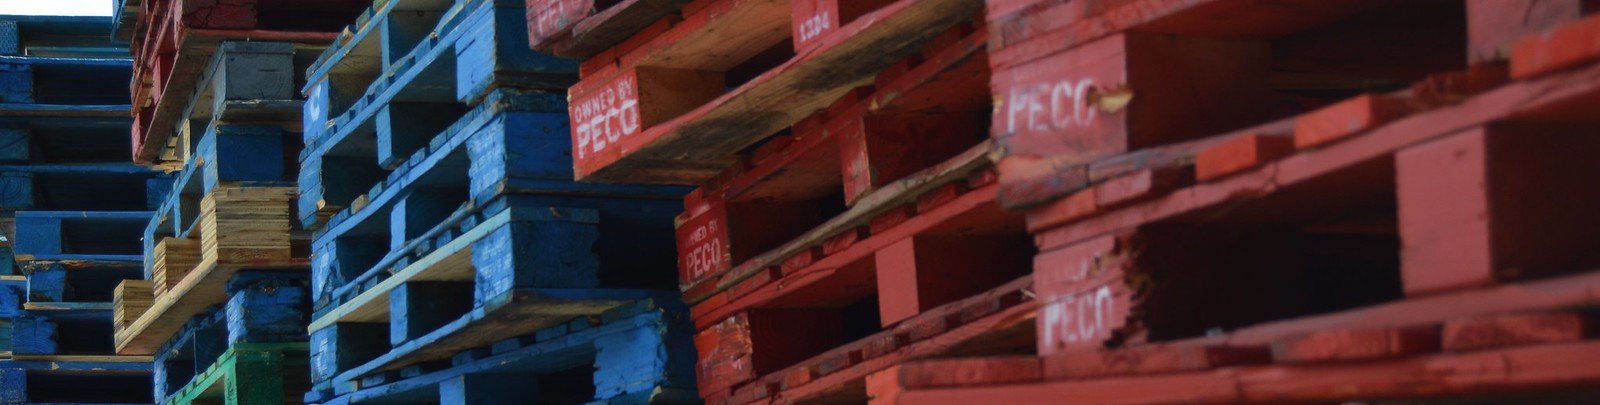
Getting pallets:
Wood pallets are super cheap, plentiful and easy to acquire materials to start a project. You can probably get them for free from Craigslist, a big store, warehouse, or somewhere else. However, whatever you do, don’t steal pallets. Apparently pallet theft is a $750 million problem:
CHEP estimates that each year, about 1 million pallets travel through the black market.
there have been cases of organized crime rings stealing pallets and containers.
a Plastic Industrial Theft Taskforce run by the Los Angeles County Sheriff’s Department recovered $7.4 million in stolen plastic pallets and containers, made 74 arrests, and shut down 30 illegal grinding operations.
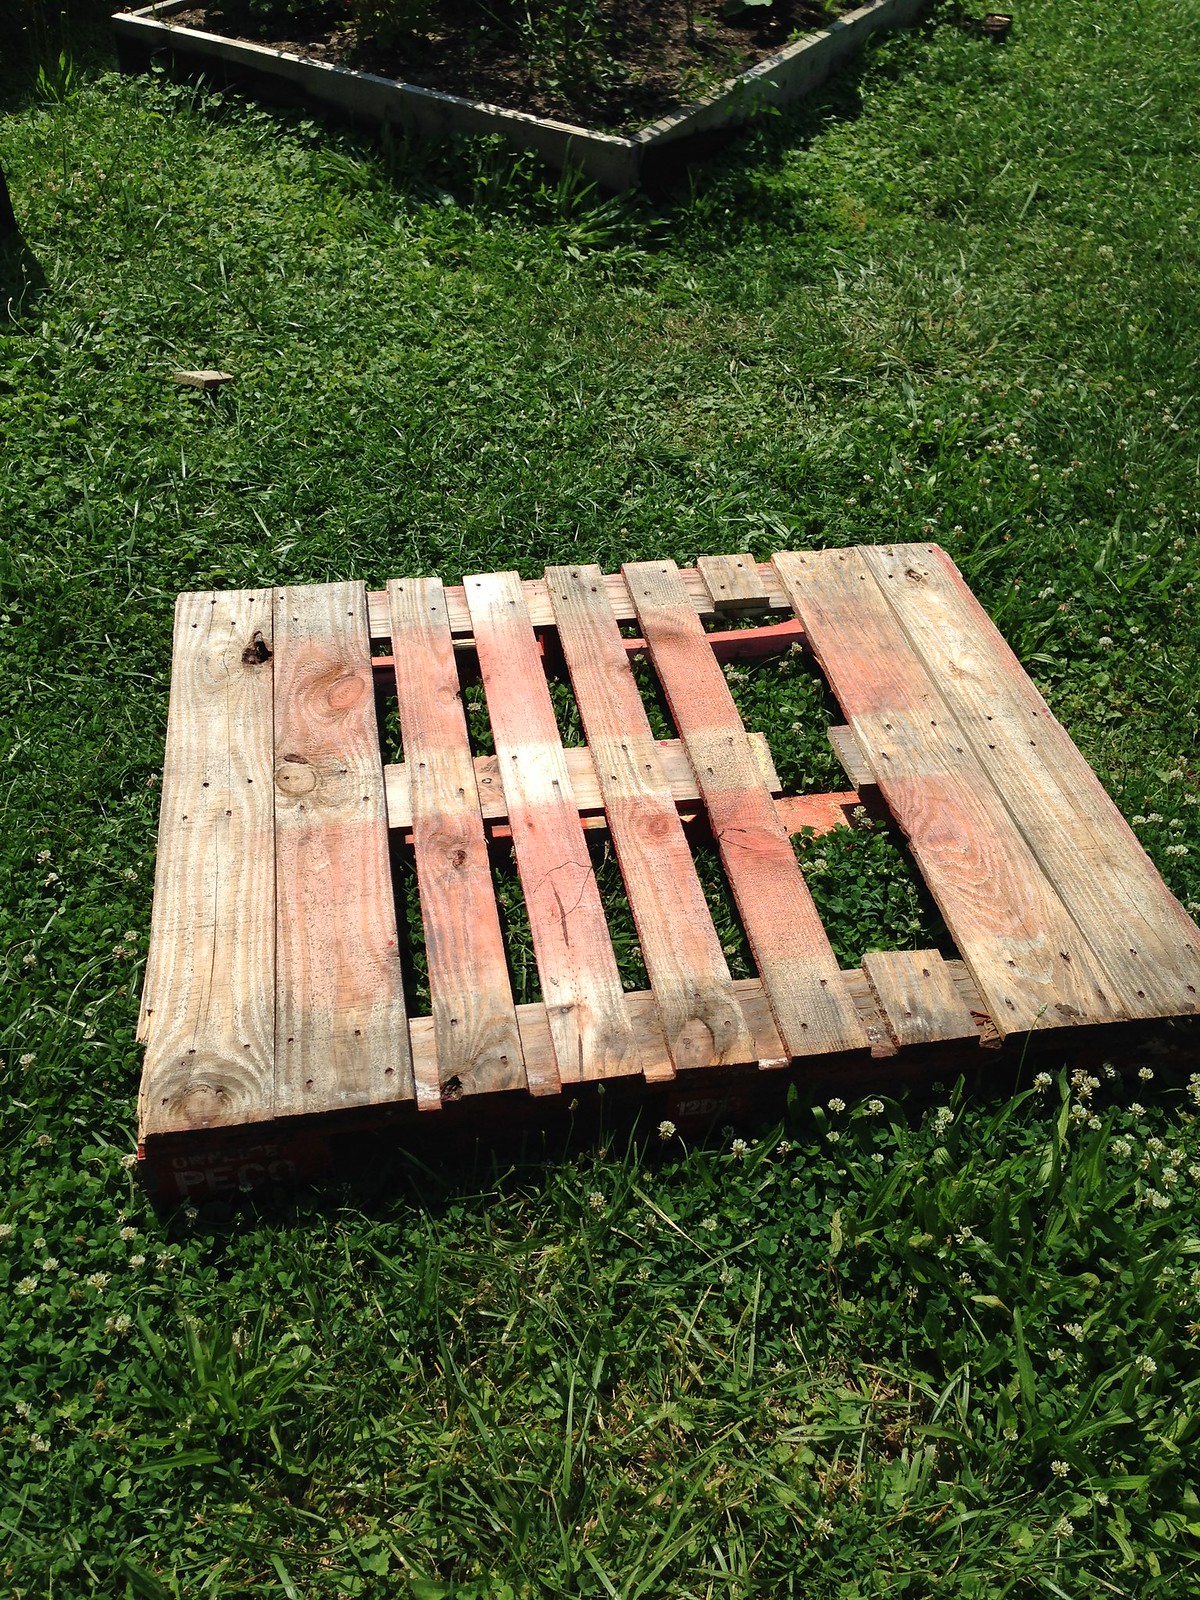
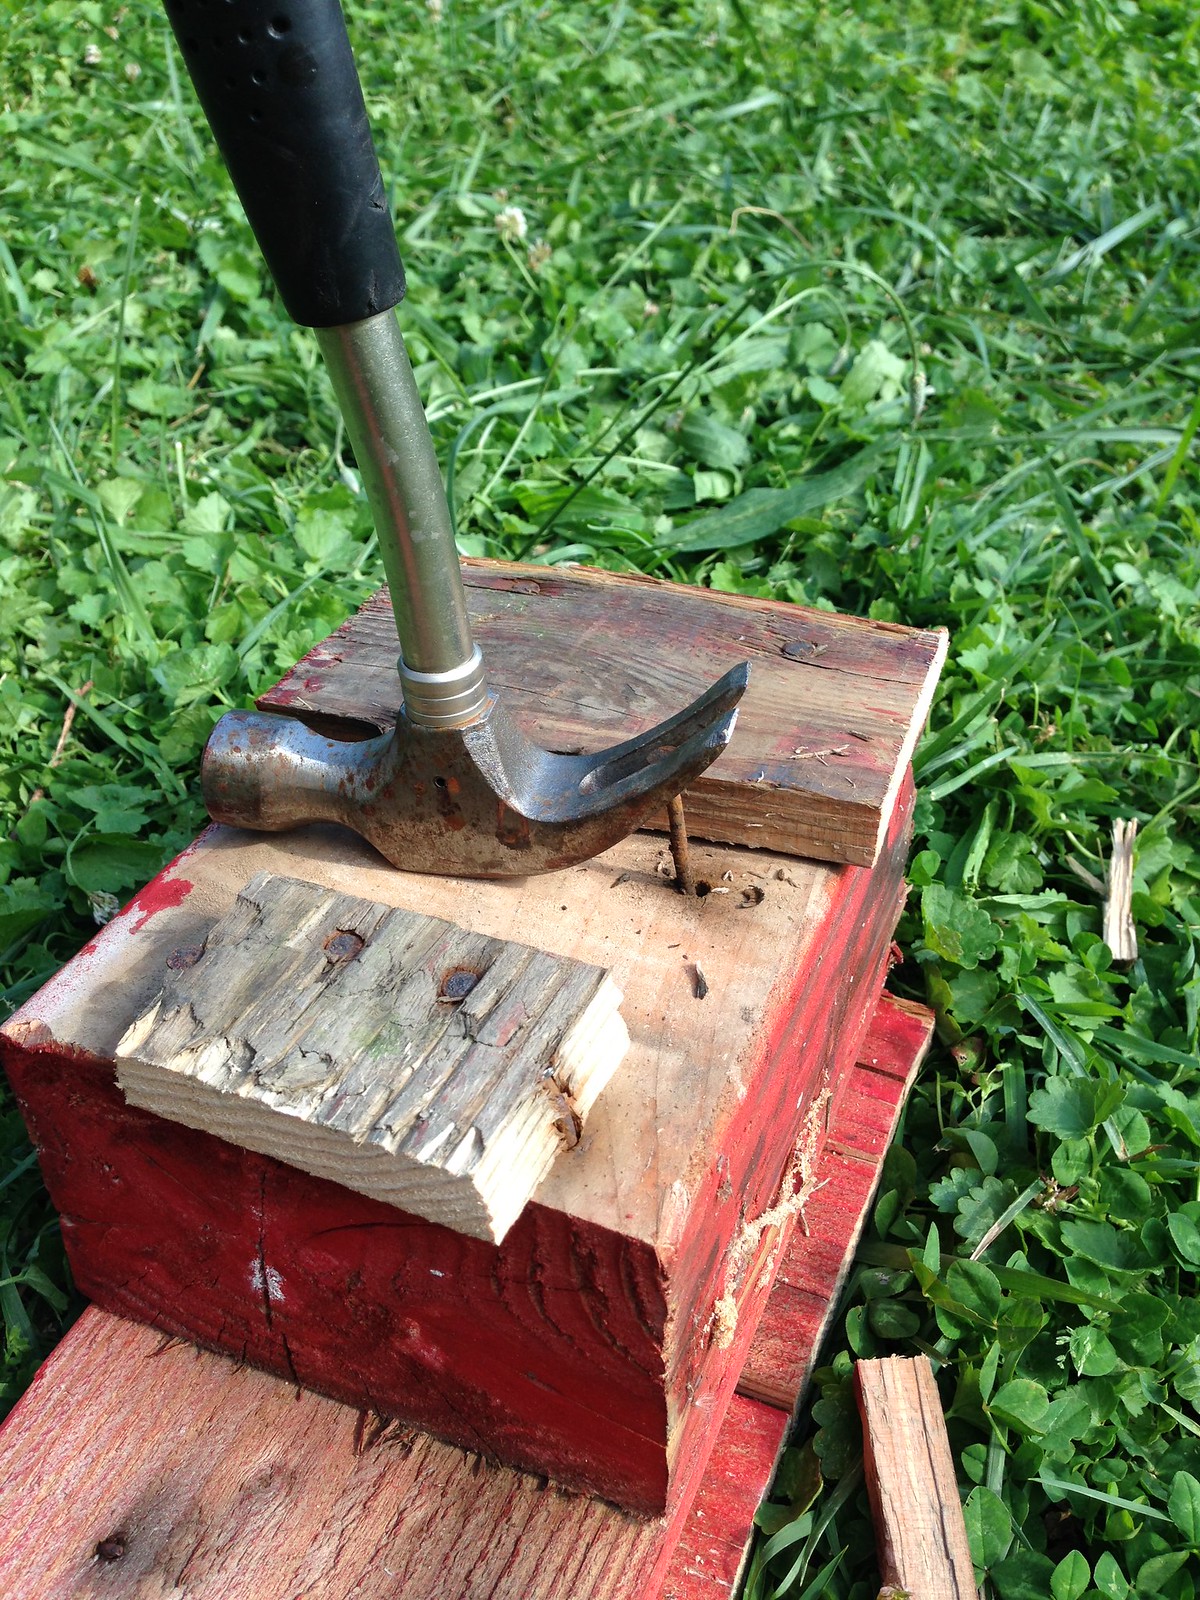
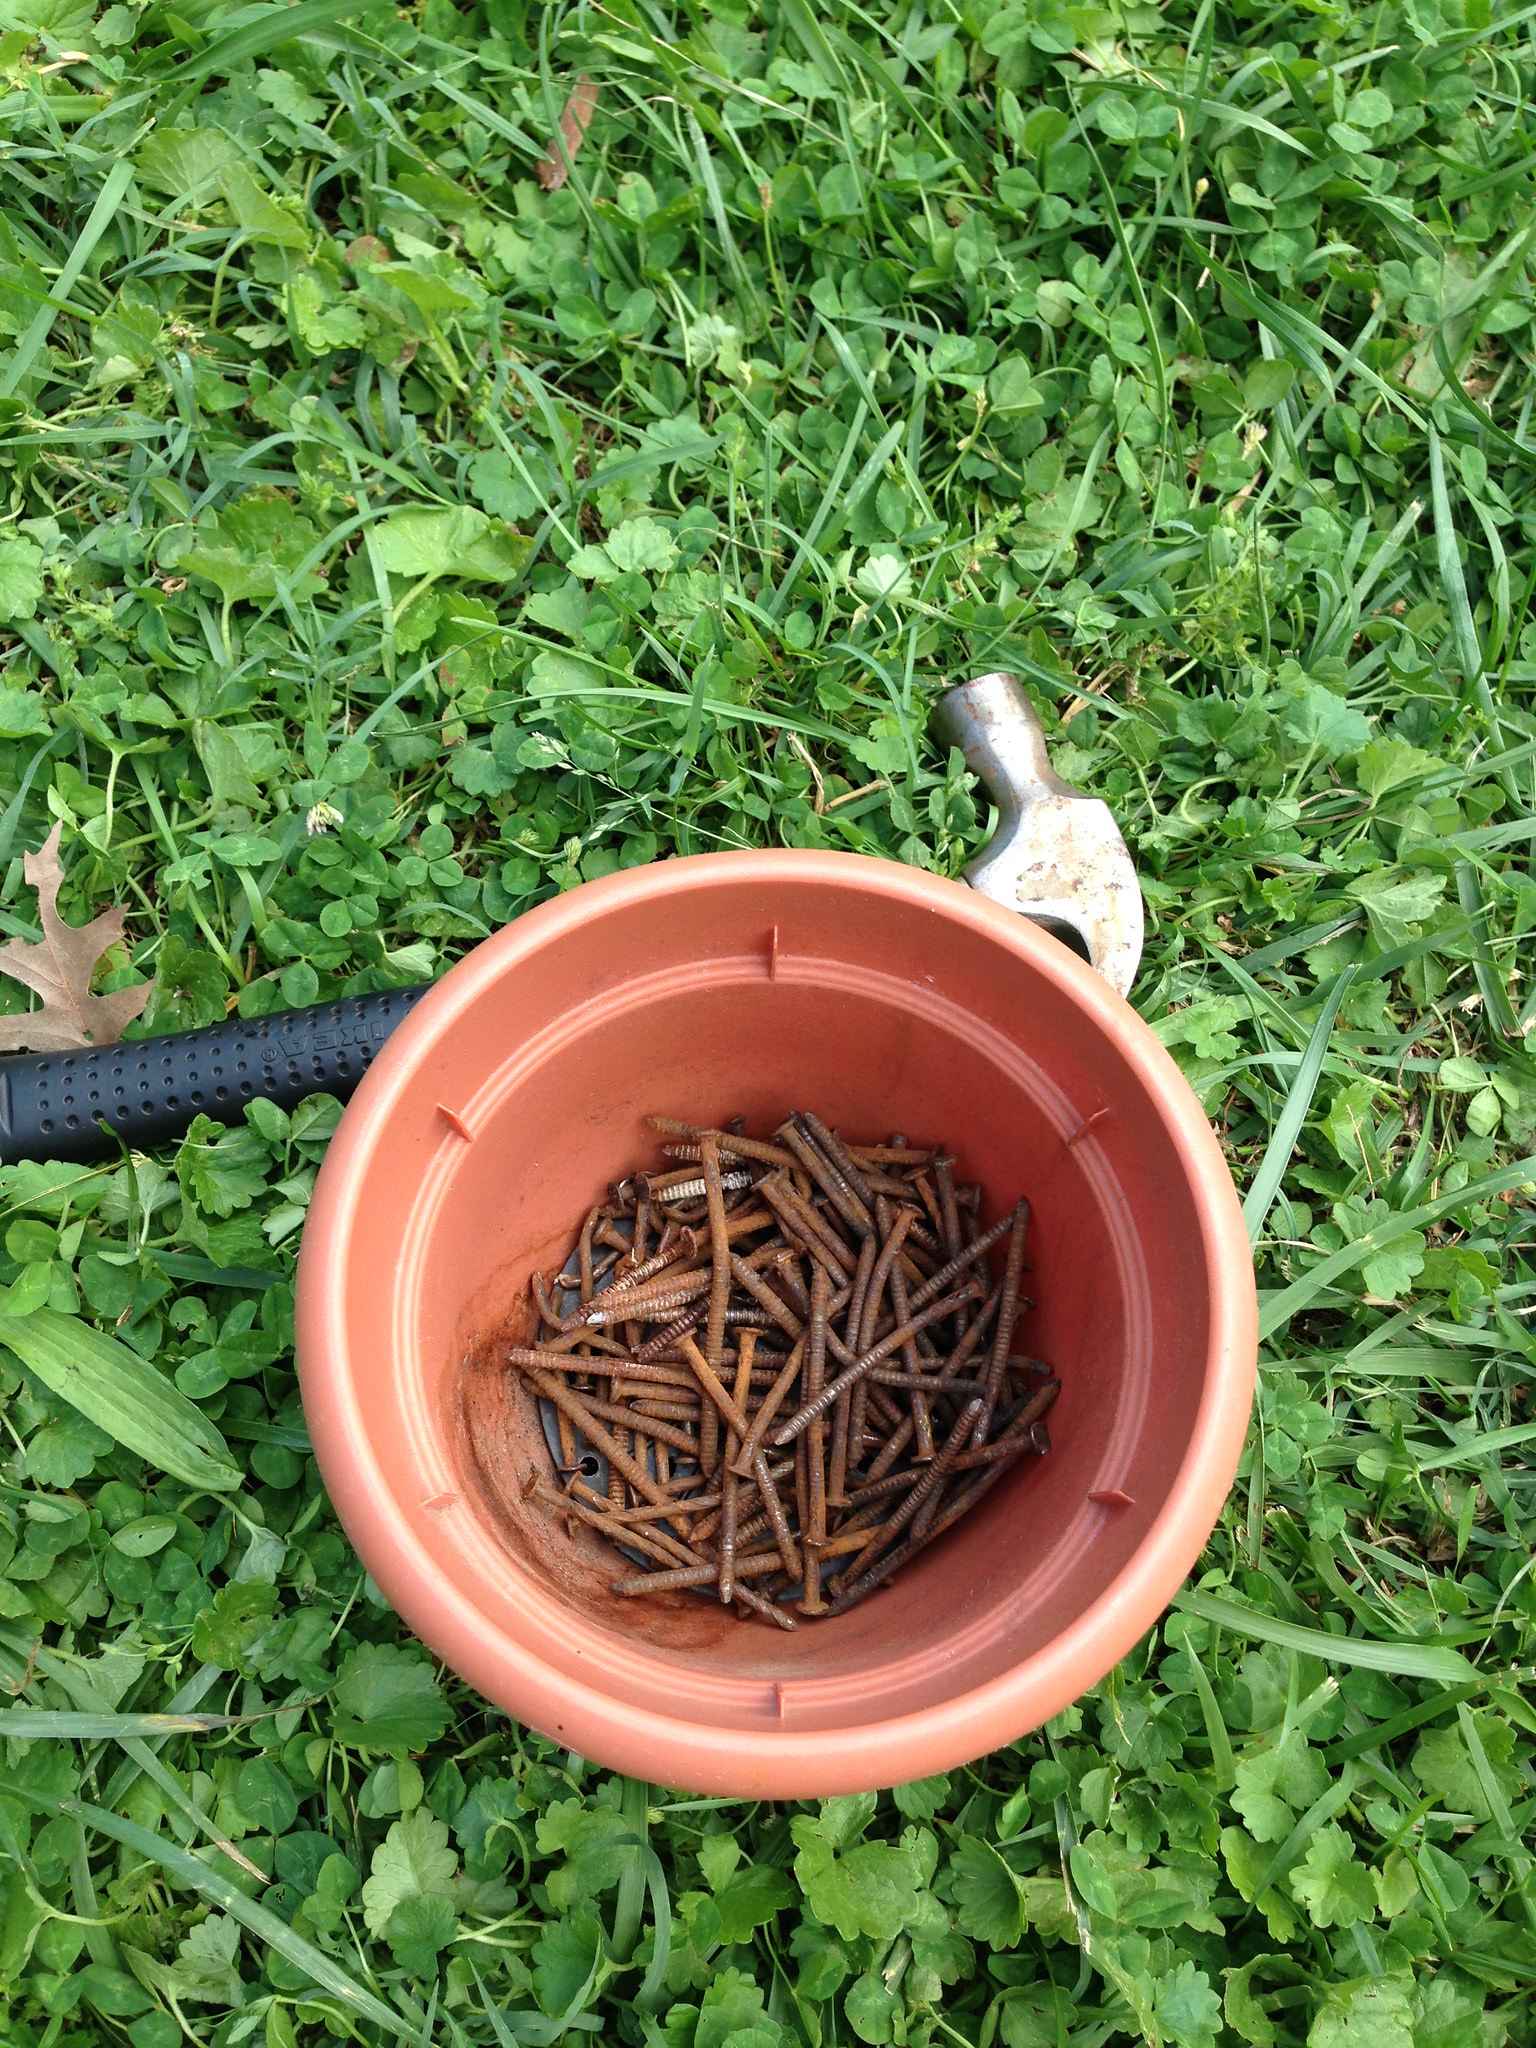
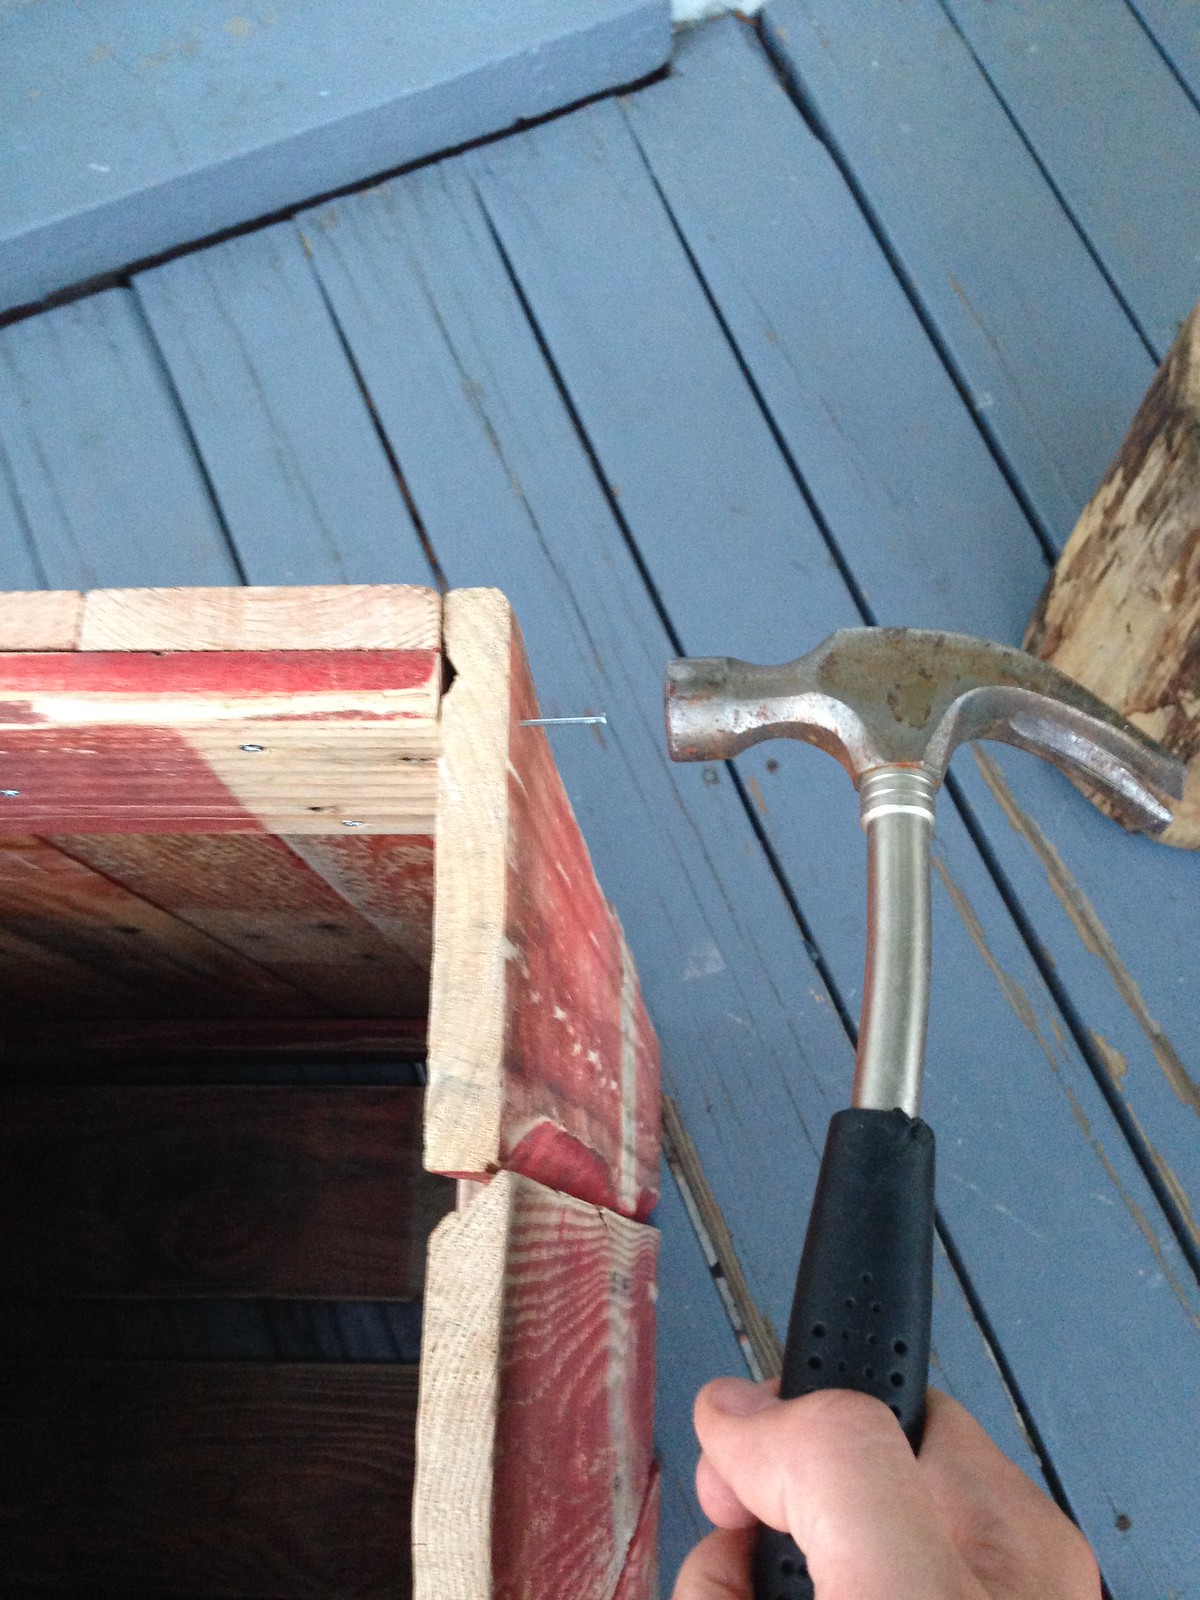
Step 1: Disassemble the pallet
This actually requires a lot of manual work, but you can do most of it with a just hammer. Use of a jigsaw can help speed things up.
I started watching a couple YouTube videos of people hacking these pallets apart. This guy gets it done in just under 7 minutes.
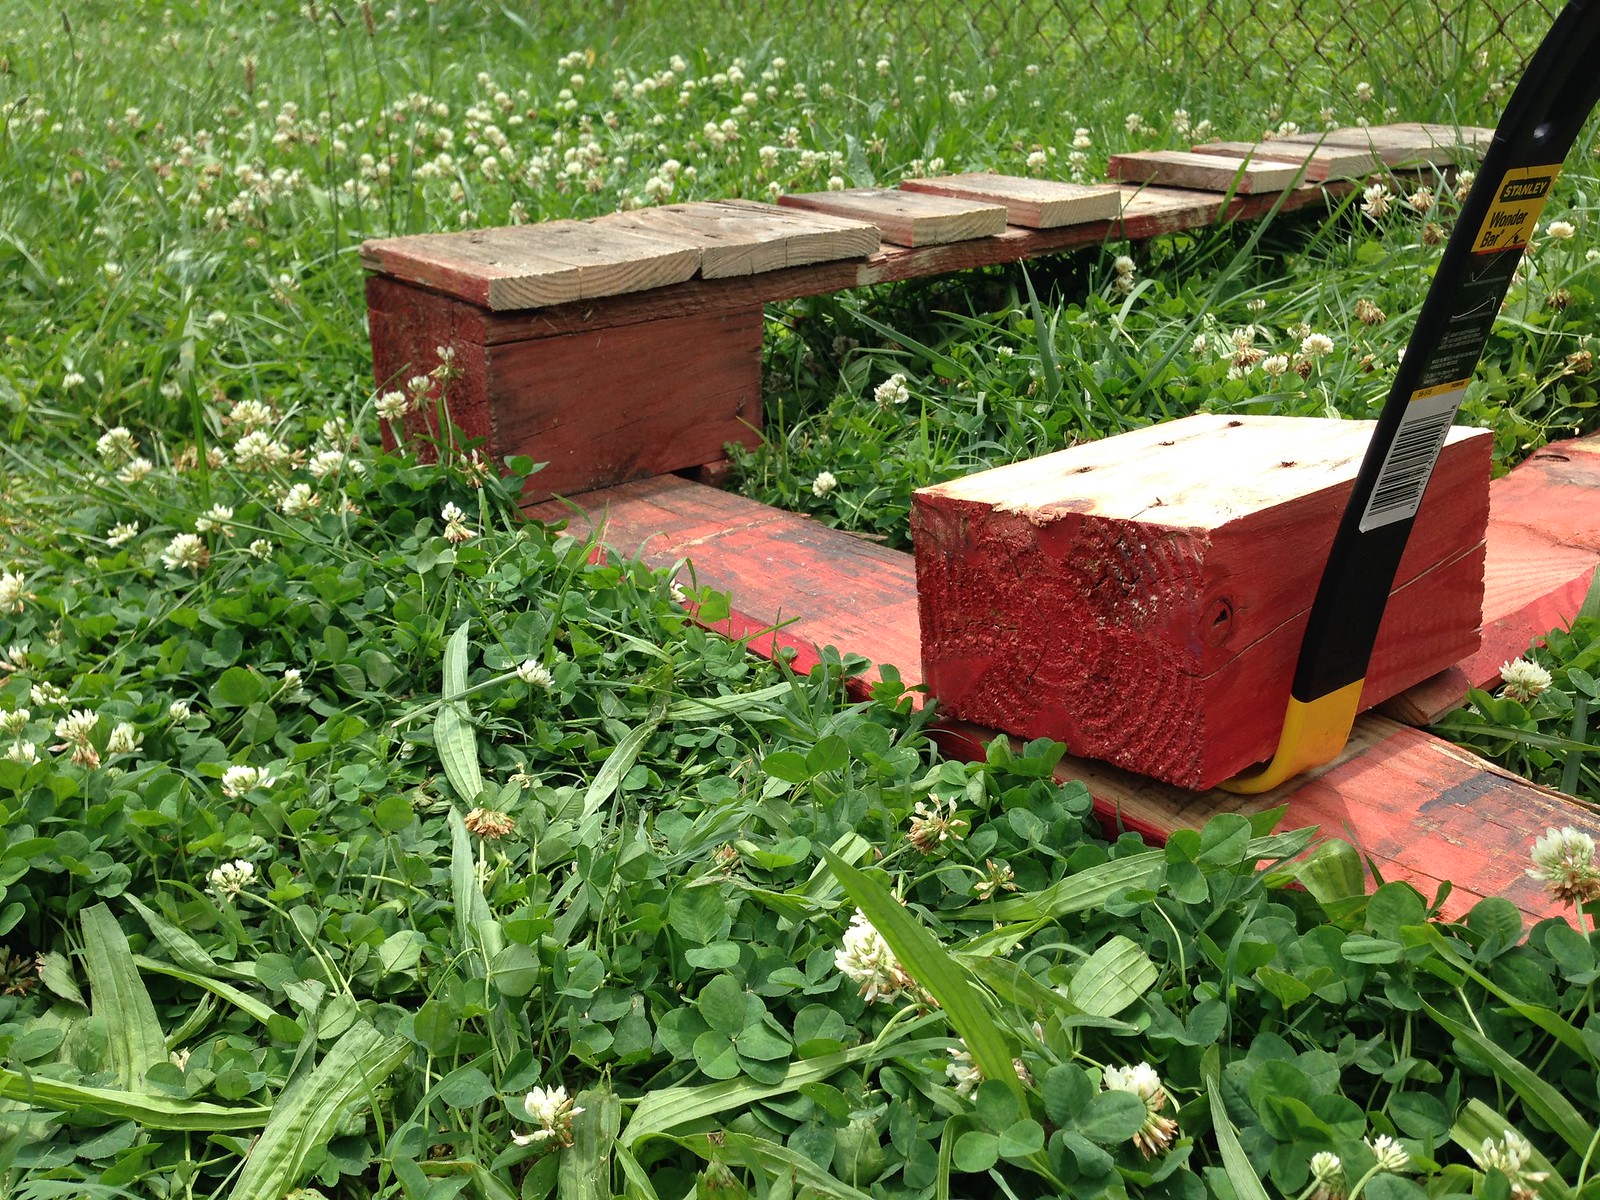
For my project I only really needed the boards, so I didn’t worry about banging the nails out of the blocks connecting the top and bottom deckboards. Parts of a pallet
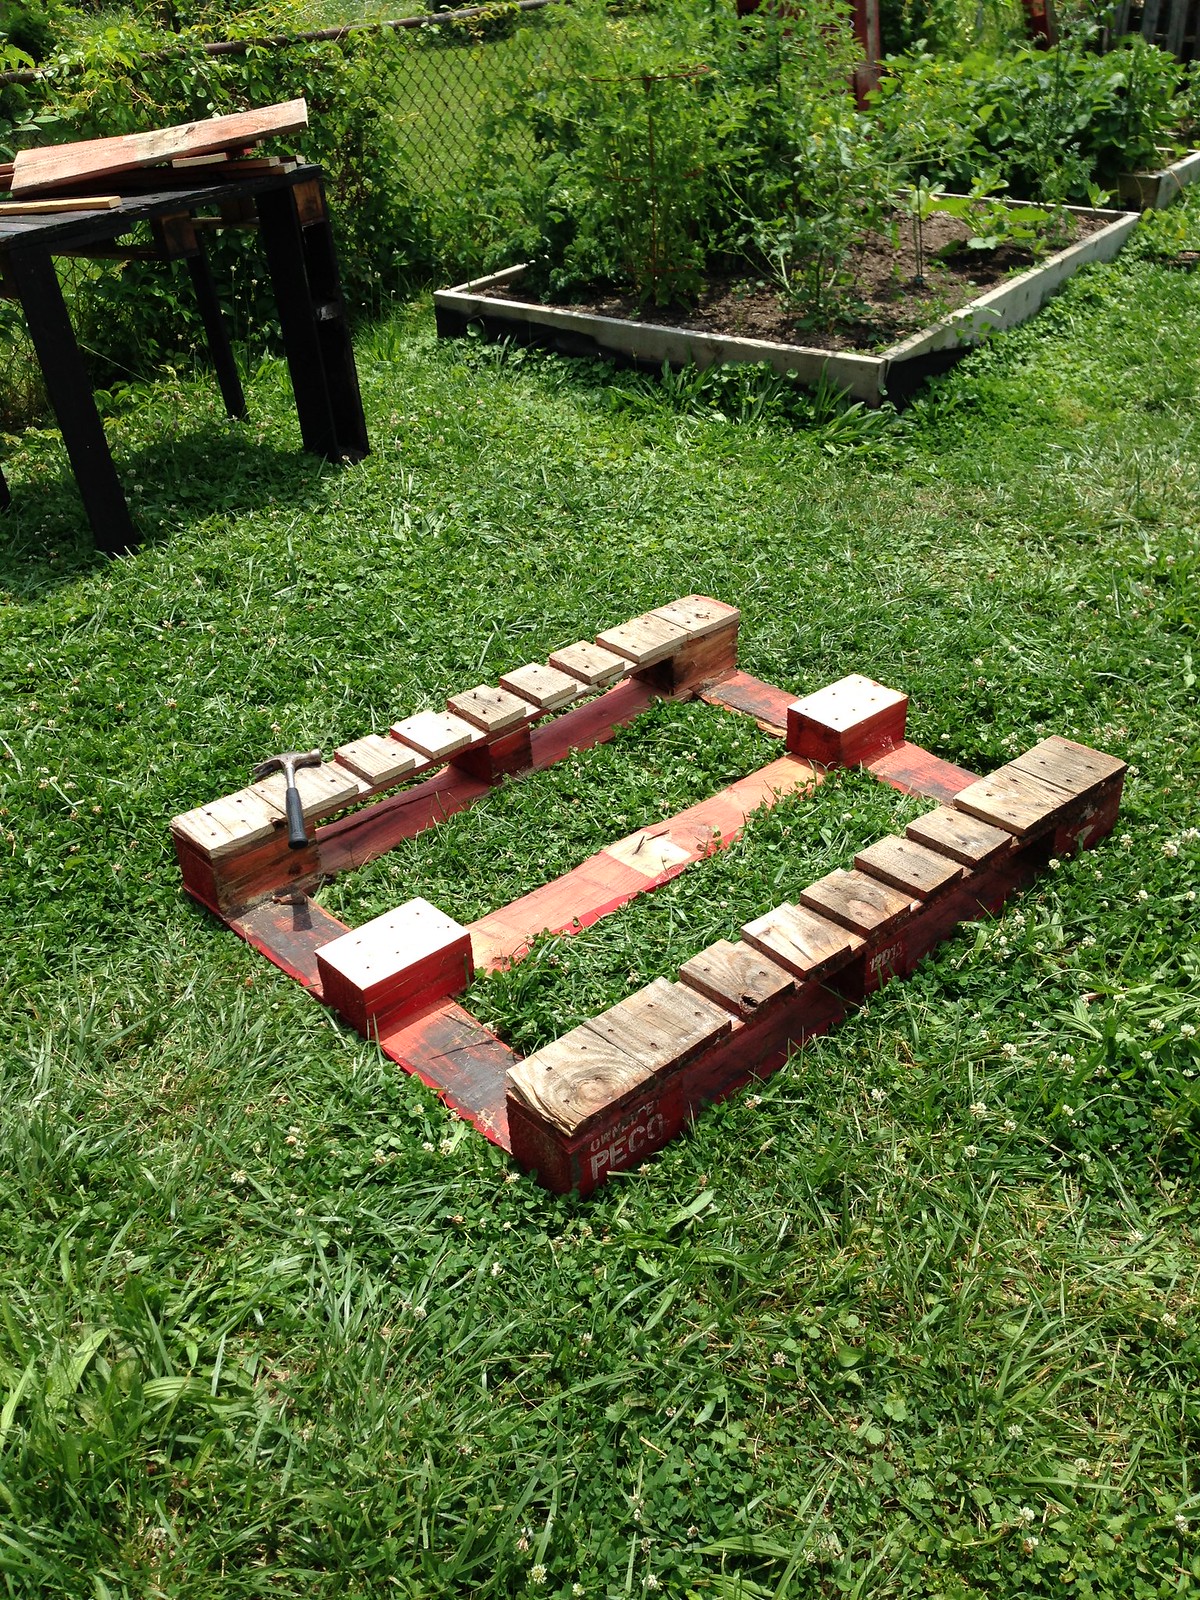


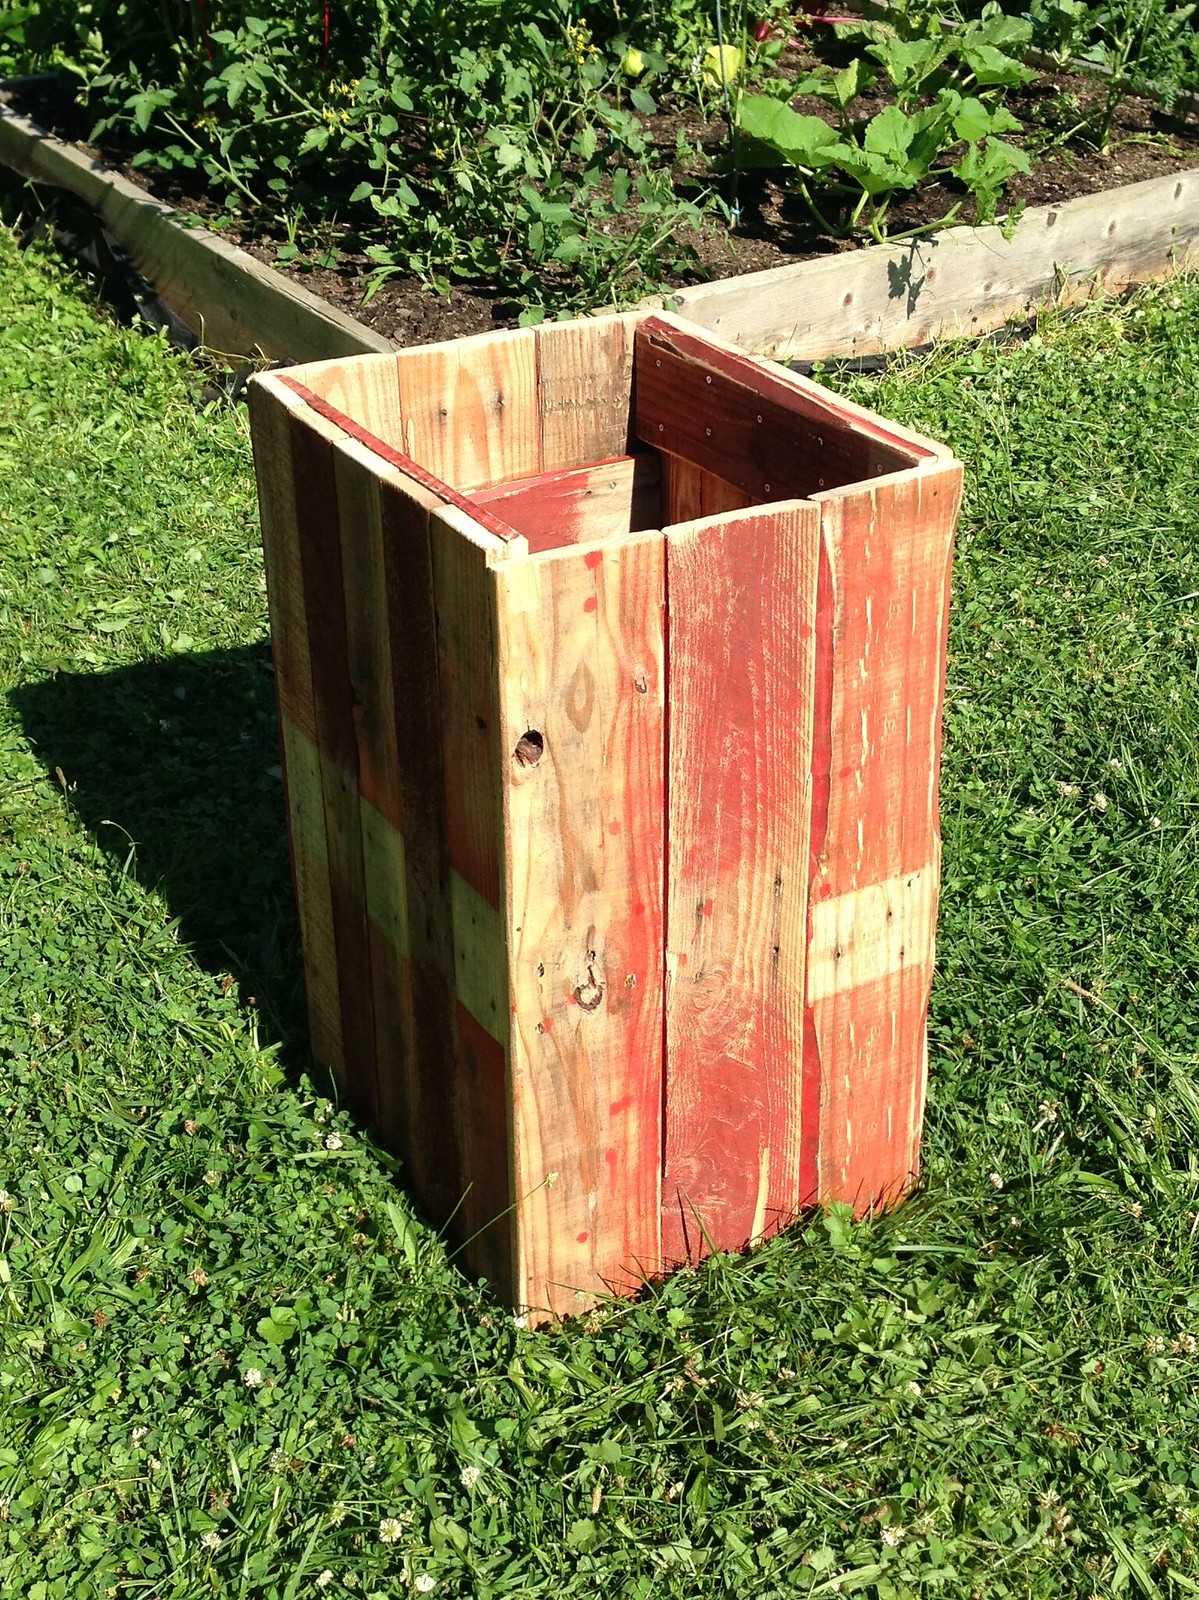
Step 2: Creating the walls/panels of the box
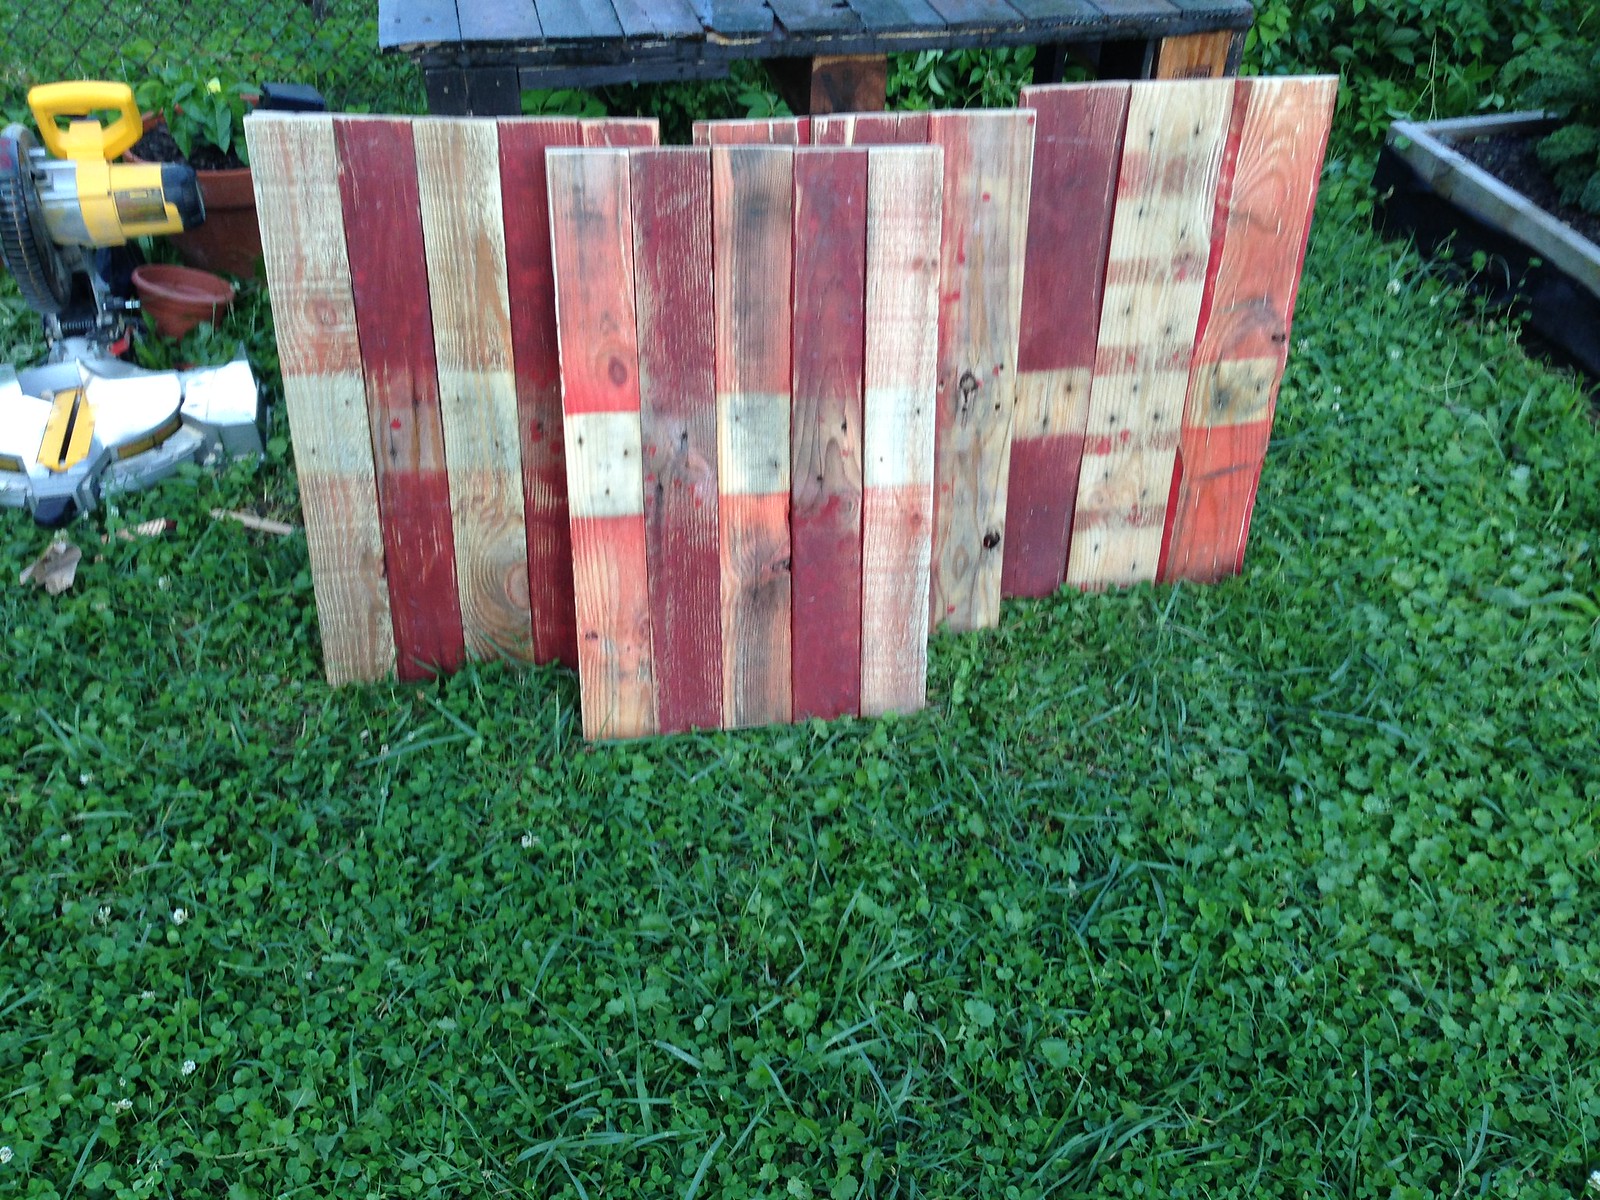
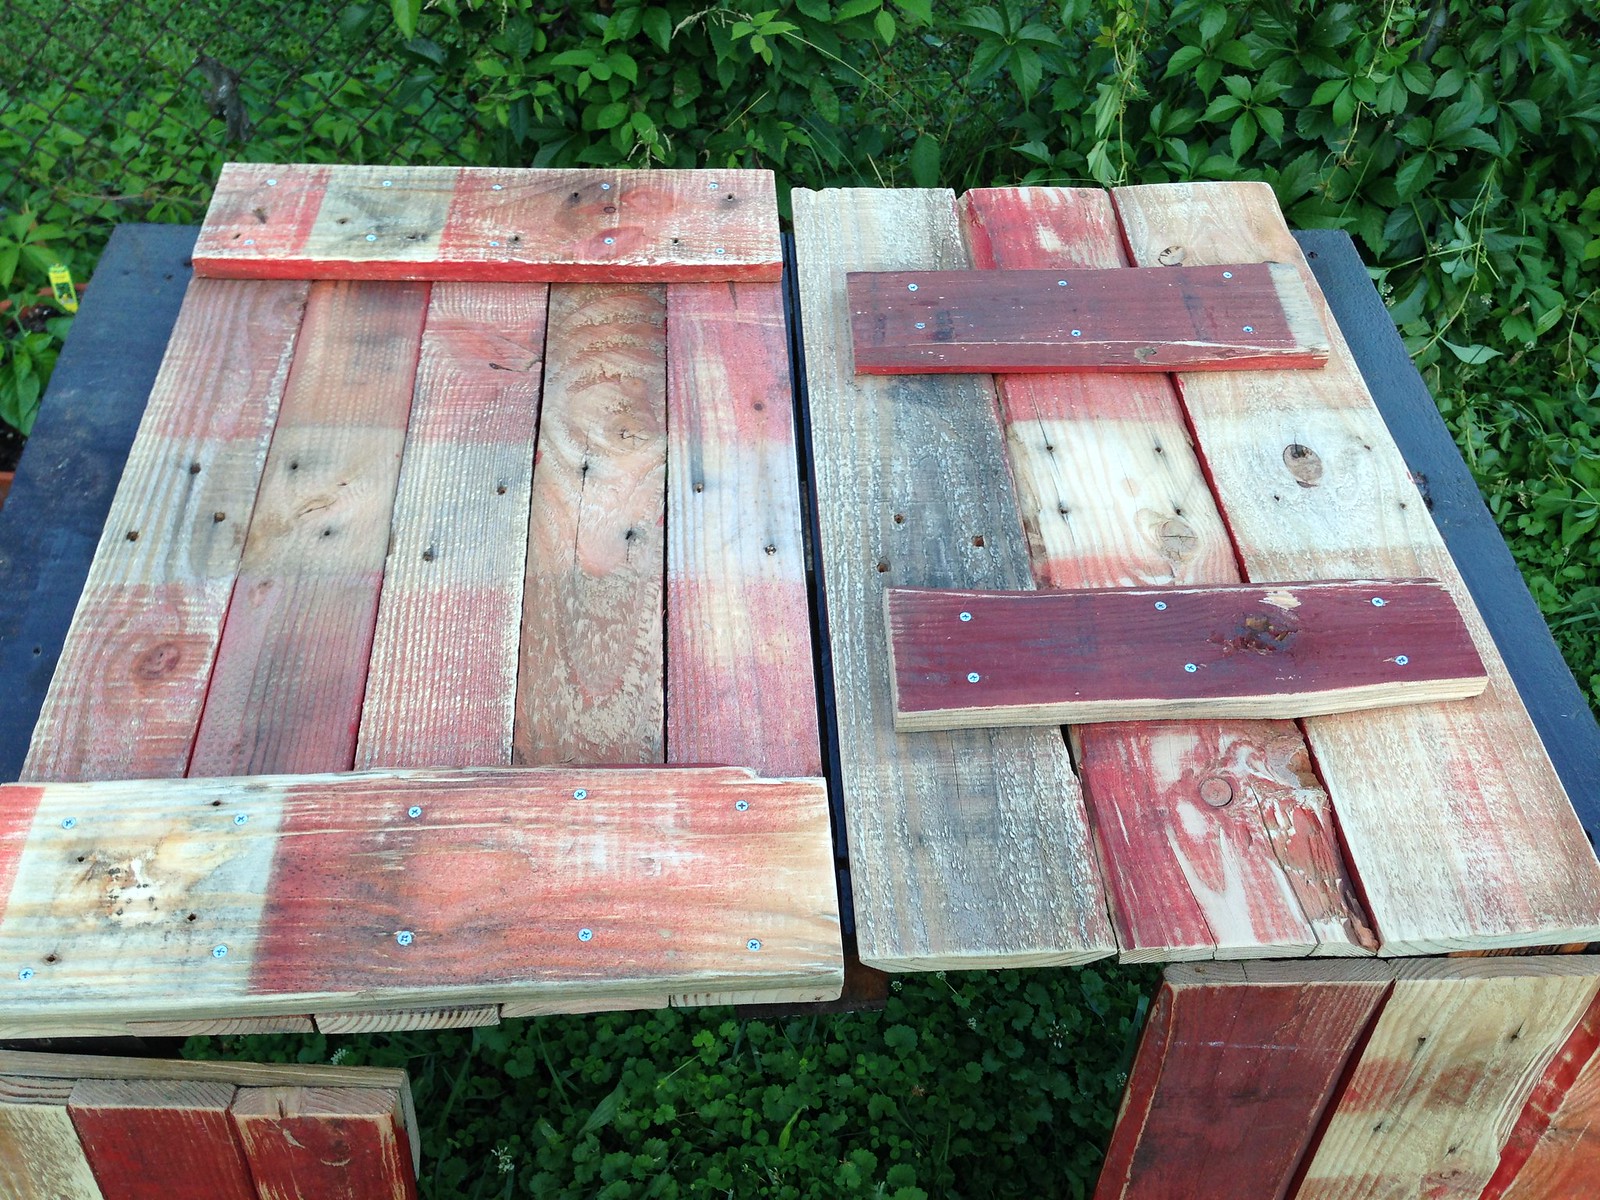
Use a powersander to sand down the edges and surfaces of each panel. I used grade 100 sandpaper.
Depending on how rugged your pallets are, you might want finer (higher grade) or coarser (lower grade) sandpaper to smooth your wood.
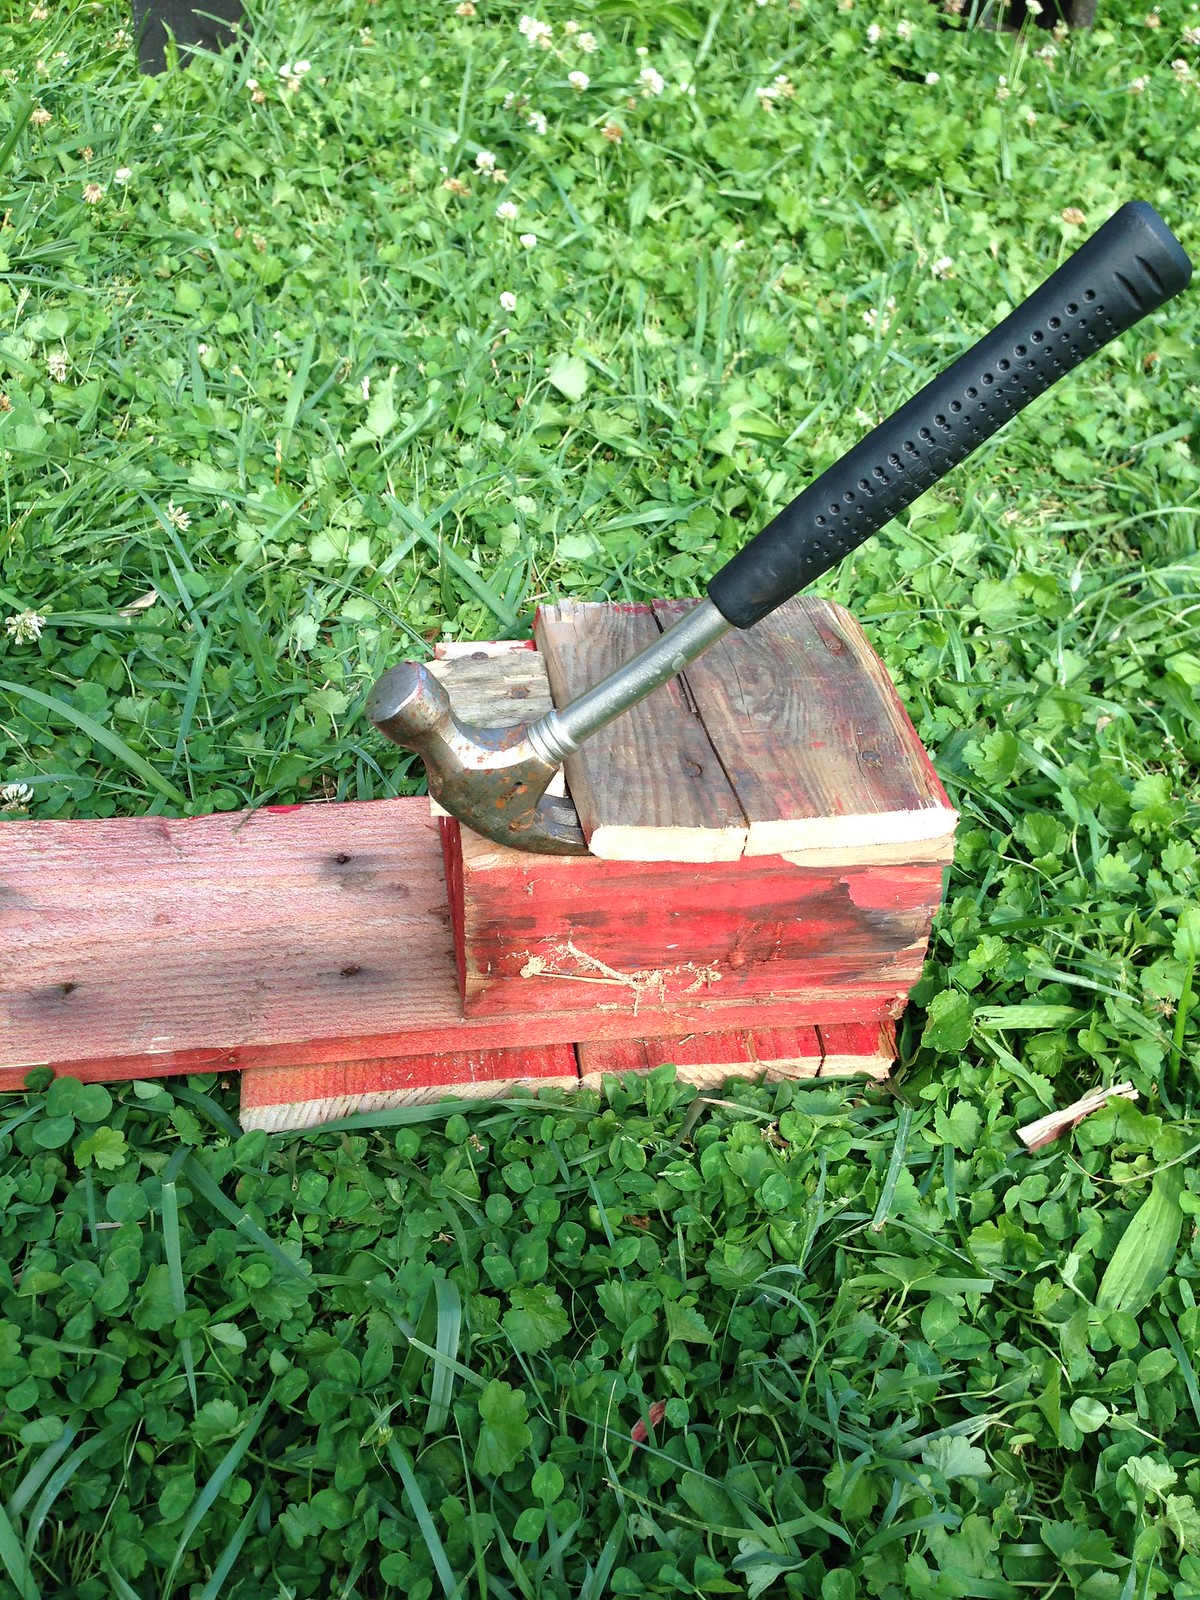
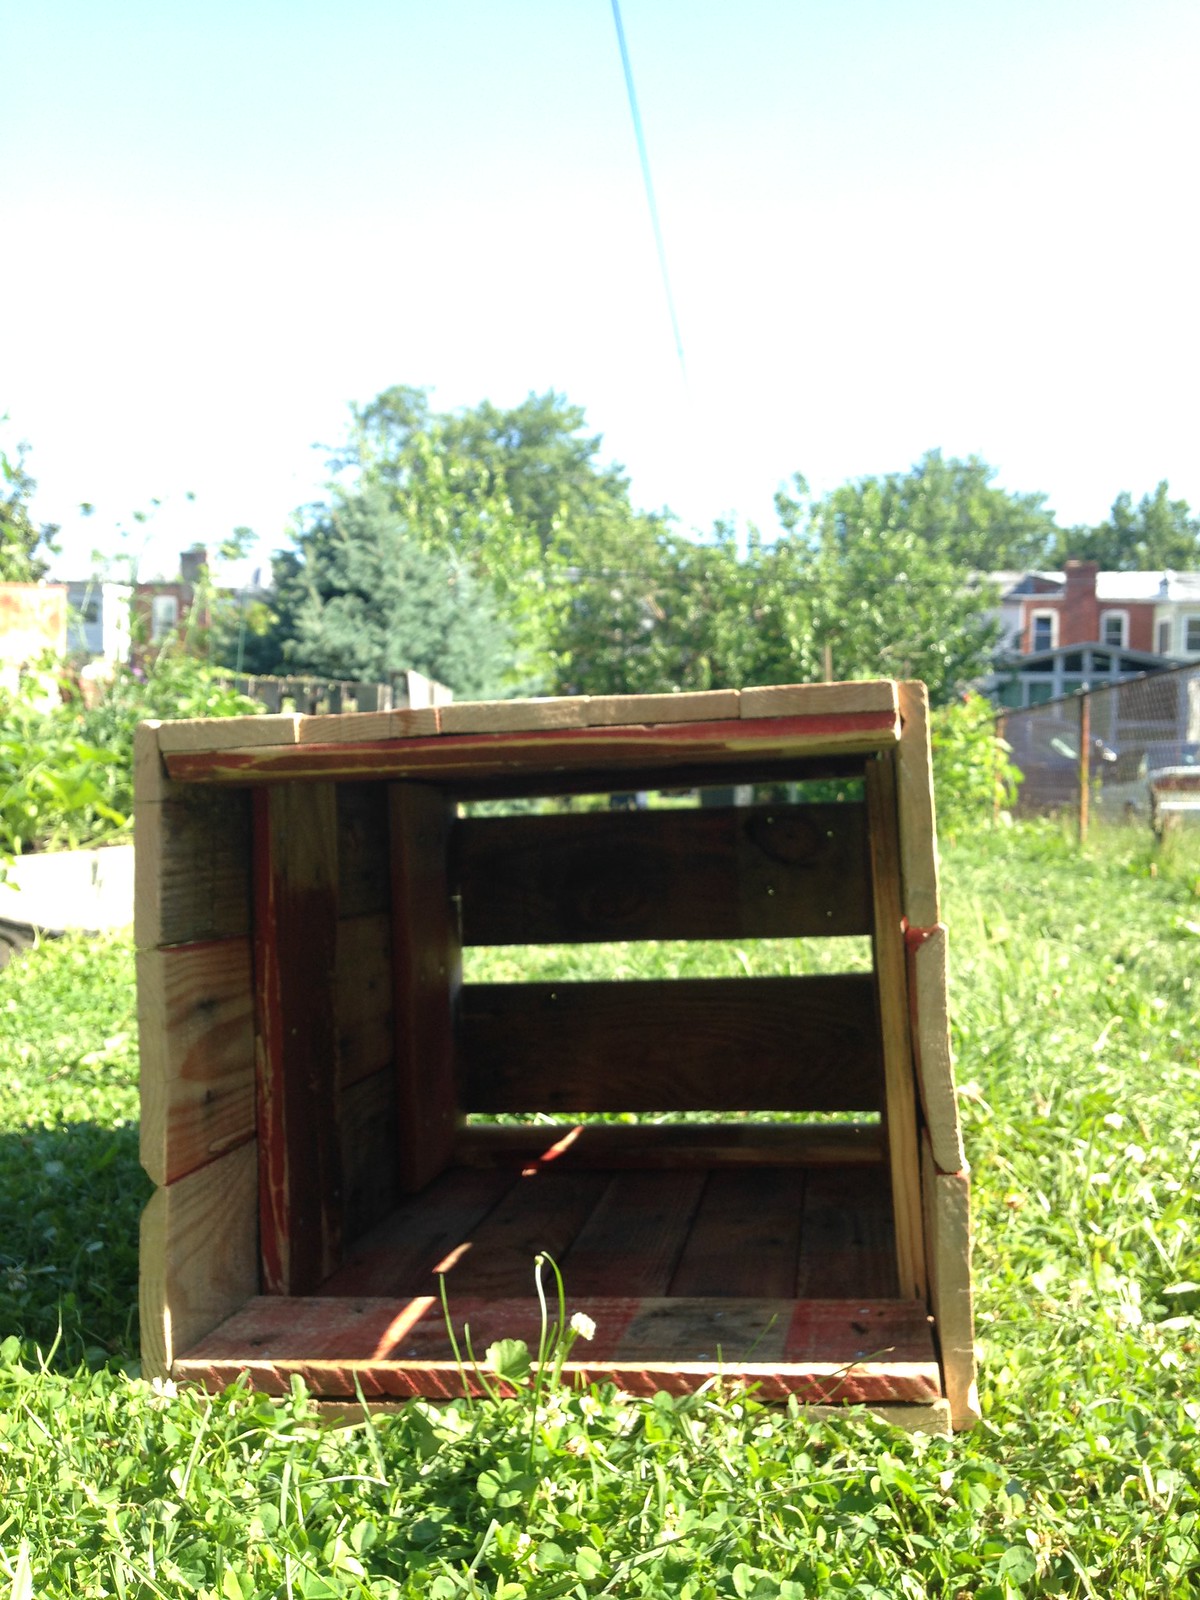
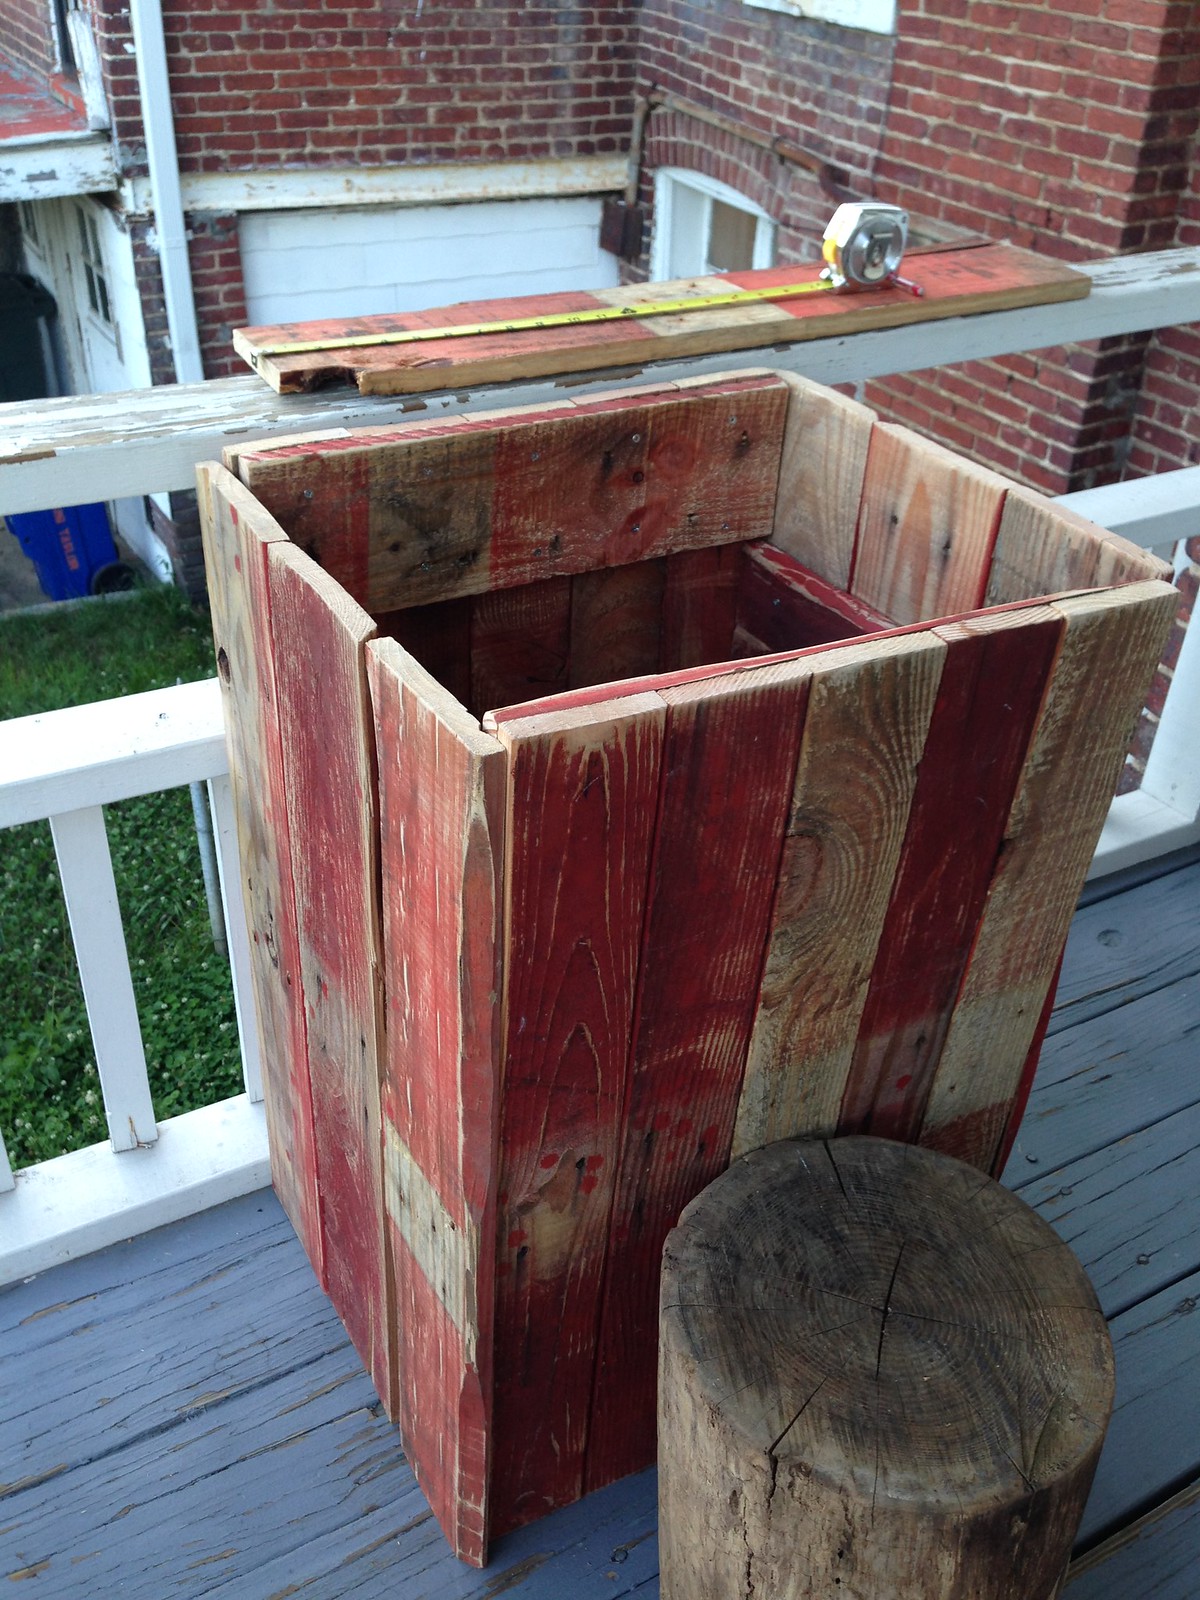
Step 3: Putting it all together
Step 4: Finish the wood with mineral oil
Step 5: Create something cool with the leftovers
