
After building a slab coffee table for my living room a couple years ago, I was asked by a work colleague of my roommate visiting our house to build a similar one for her family’s living room. Despite my general lack of expertise and history of a single slab project, we had a lot of fun with it and I’m pretty pleased with how it turned out.
First sight
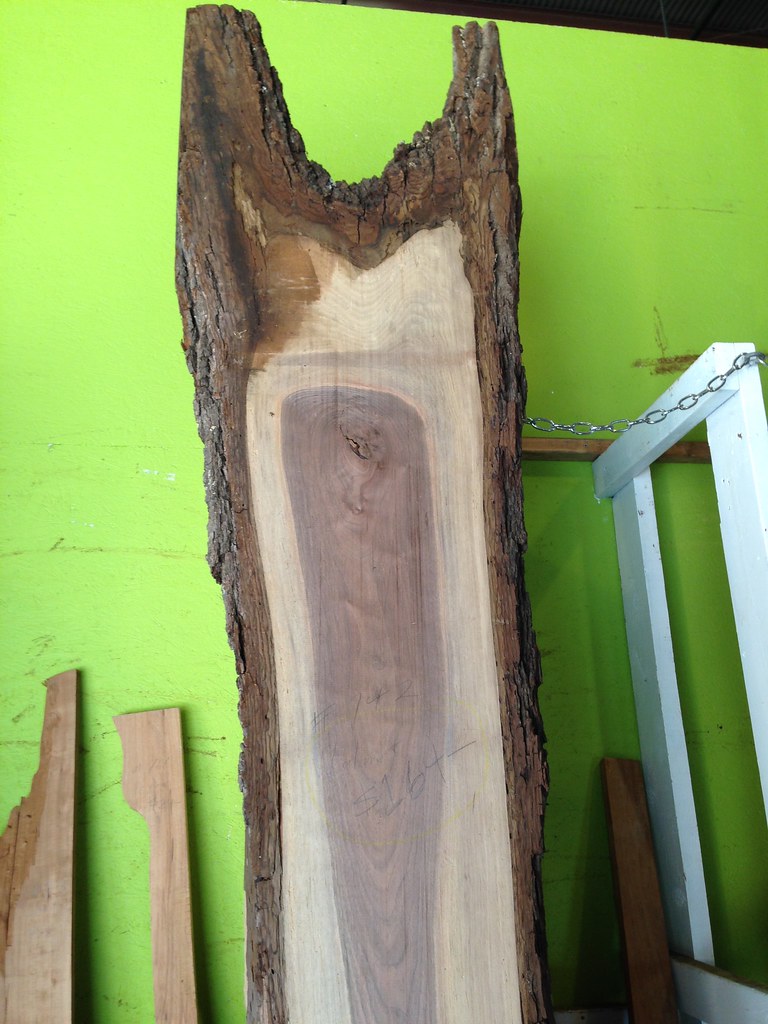
As with most projects, I started with a trip to Community Forklift to survey the slabs which are actually inventory of this guy who runs Treincarnation.
This slab with the irregular devil horn shape where the branches begin to fork out caught my eye.
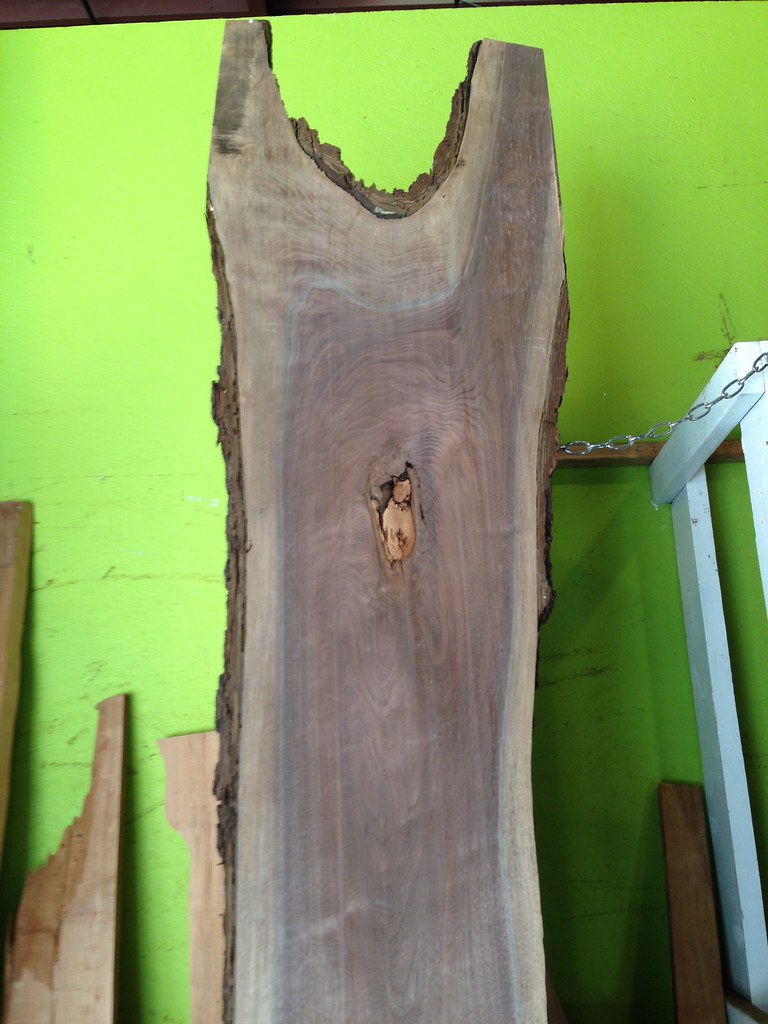
Bark
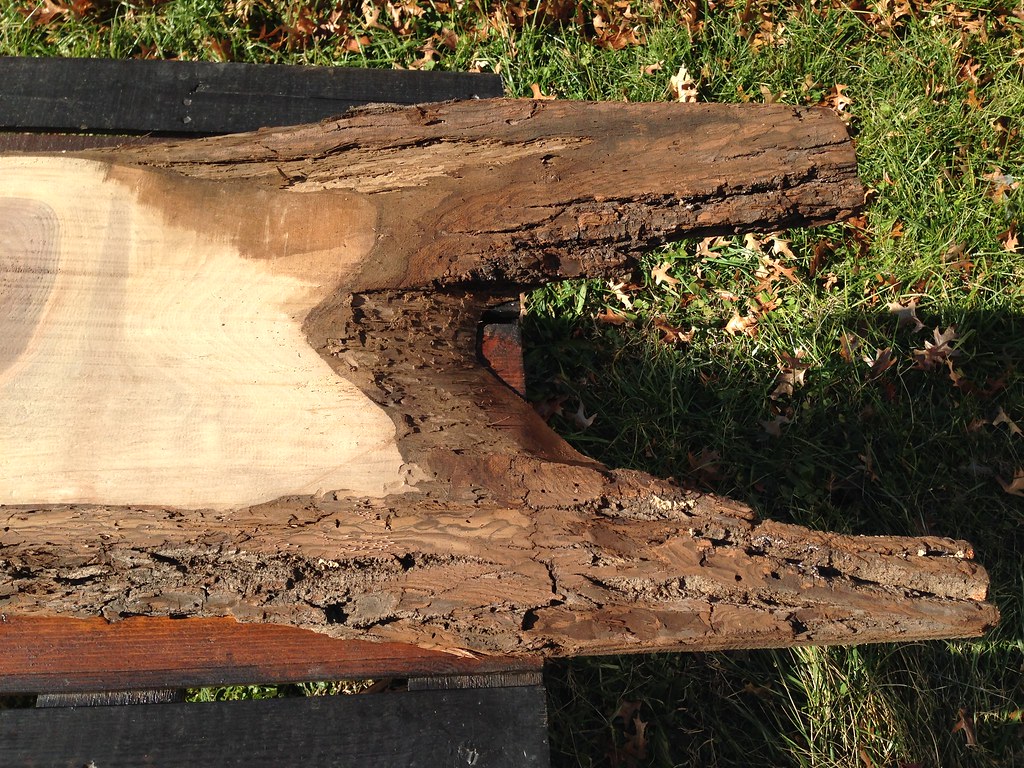
I was torn with what to do with the bark. I did some research and walnut seems to have a good reputation for holding onto its bark. However, it also seems like most people eventually have disappointing experiences when simply leaving the bark on. The safe bet seemed to be strip it off, save it, and reattach later if desired, so that’s what I did.
A fun fact I came across during this process – the season in which a tree is felled could affect your chances of keeping the bark on. Trees felled in winter when the sap is not flowing are thought to be more likely to retain their bark. I know this piece was dried out in a barn for 2-3 years before I picked it up, but no idea what season it was felled.
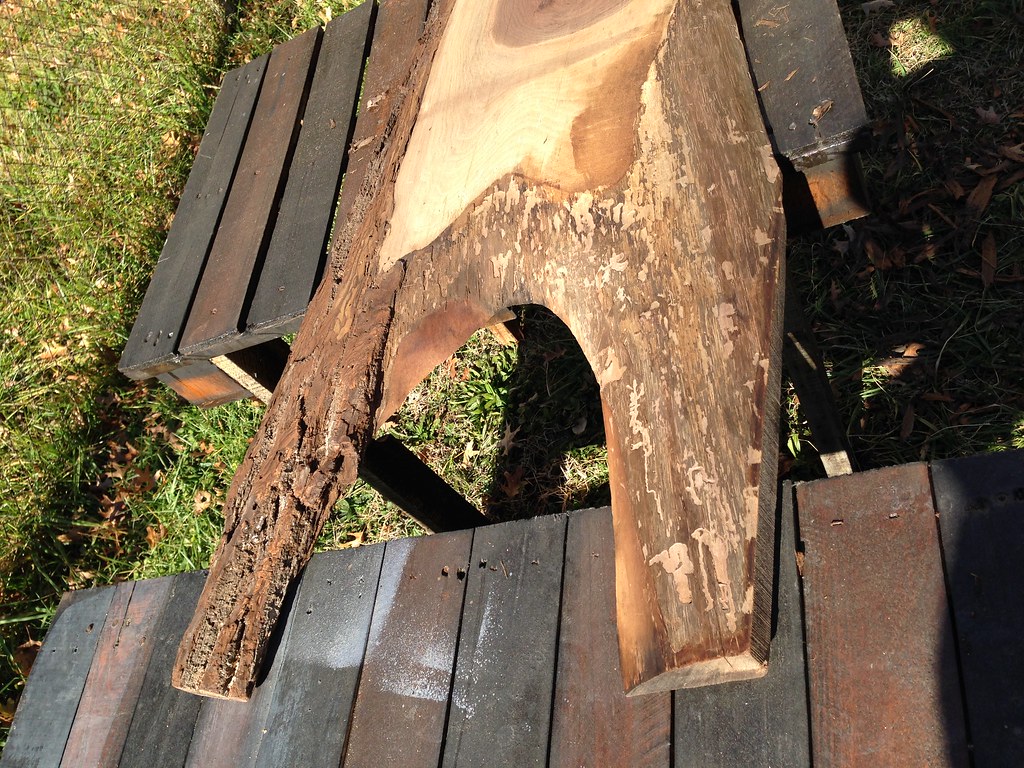
Bark. There was a lot of it. It took a couple hours to just remove it the first layer. I went back and forth between the chisel for the big chunks and power sander for the spots where the bark was a little more clingy.
Finishing
Sanding: I started with some pretty coarse 60 grit on the edges to smooth out the areas where the bark was. Then worked through a progression of 100, 150 and 220 grit sanding.
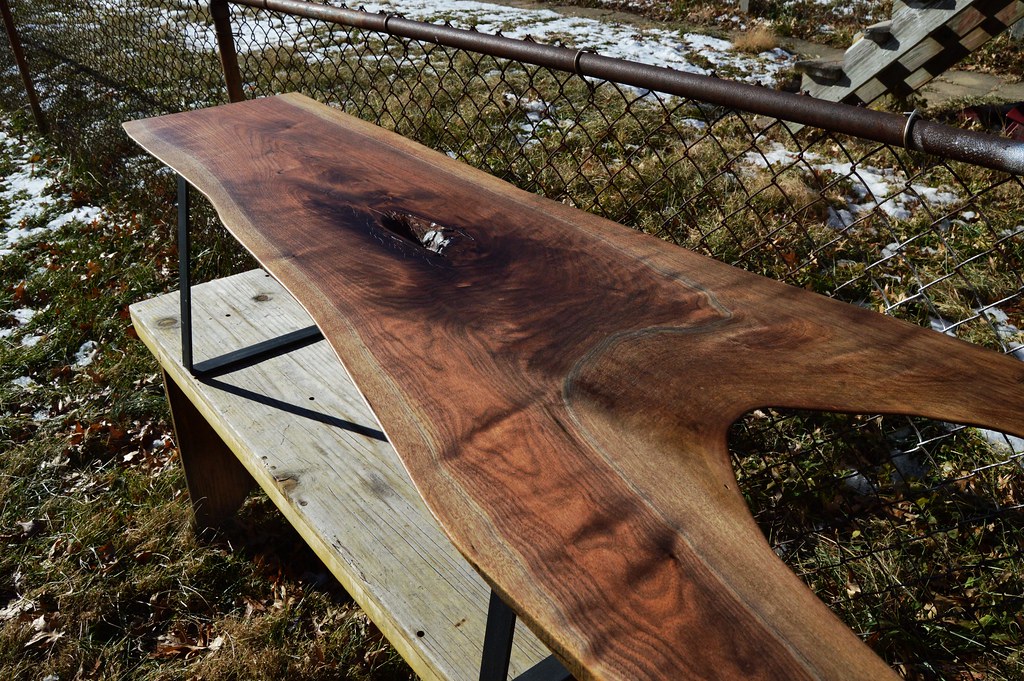
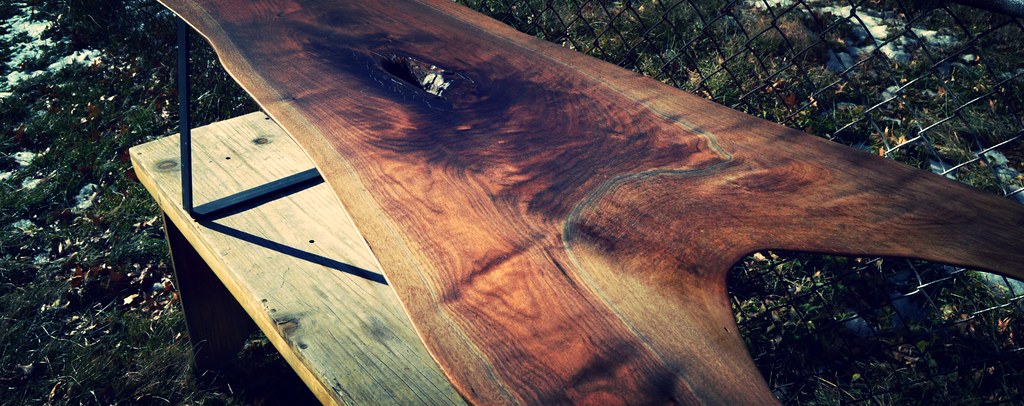
Oil: Once everything was sufficiently smooth, I wiped the slab down with some mineral spirits and applied a coat of tung oil finish. Then another, and another, and another and another. 4 or 5 coats in total applied in roughly 24 hour intervals. I’m always impressed with the colors and features that come out from a natural oil finish – this was no exception, especially with the smooth side.
Wax: After the last coat of tung oil, I applied some paste wax to protect the wood. Although not as protective as a polyurethane, lacquer or shellac, I find the look more natural and less plasticy.
Legs: The legs are custom made raw steel from modern legs. To finish, I brushed with steel wool, cleaned with mineral spirits and finished with a coat of paste wax. I used these same legs for the coffee table in my home a couple years ago and didn’t finish them at all (oops). They’ve rused a little bit since. I don’t necessarily dislike the look, but to control it for the to-be owner of this piece, I finished with some protective paste wax.

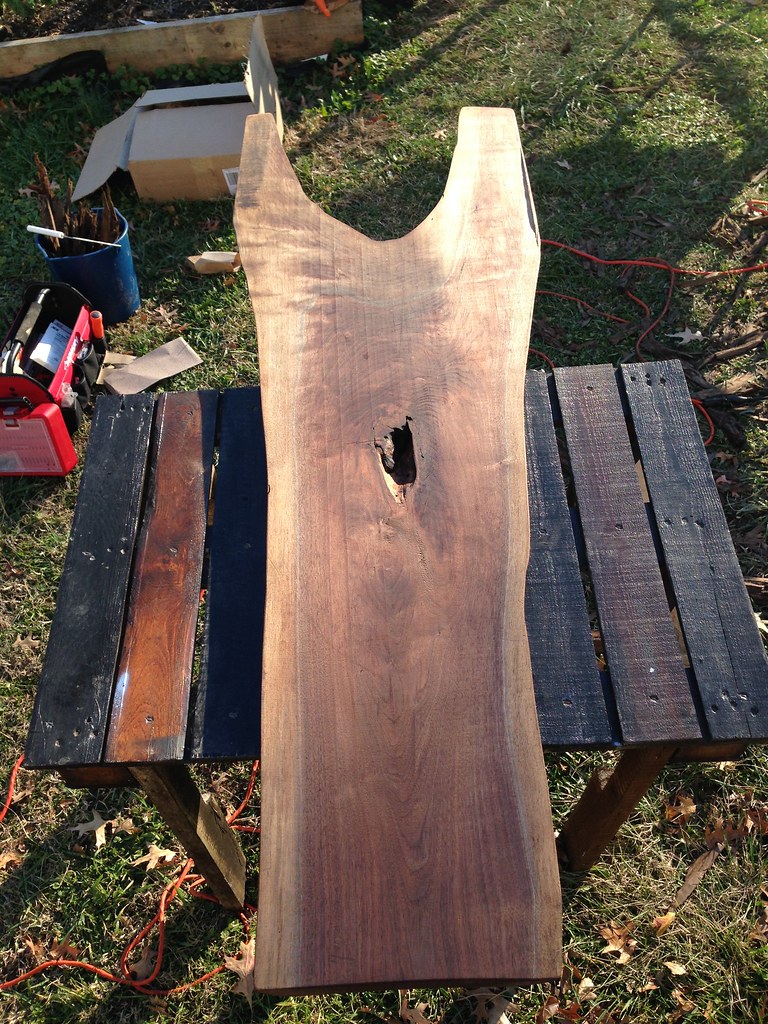
First coat
Just one coat of tung oil was enough to bring this piece to life and make the grain pop. I applied 3 or 4 more coats to penetrate into the pores of the wood and provide some extra protection against wear-and-tear.

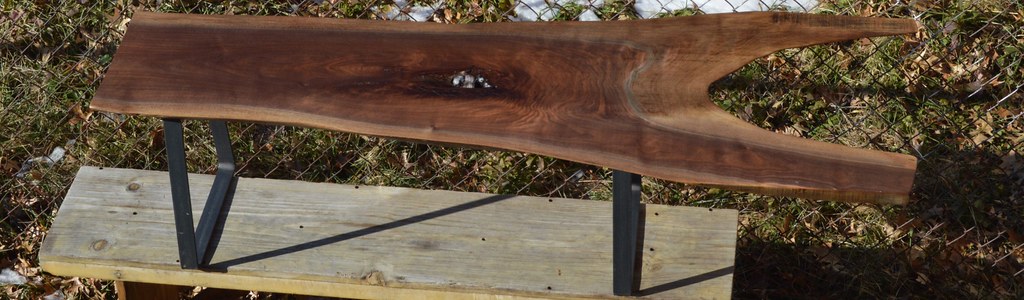
Finished Product
I ended up using Etsy to sell this piece which turned out to be very easy – setting up a seller account and processing the transaction. Who knows, maybe I’ll make some more.